

Screen Printing – Custom Apparel Solutions by Pixelink Print Lab
Screen Printing
INTRODUCTION
what is screen printing? a step-by-step guideScreen printing works more or less like a giant stencil. You create your design and send it to your printing partner. They then burn it onto a screen, and push ink through it onto your garment using a squeegee. Simple in theory, but can get really technical in practice. Especially when you start talking about automatic screen printing presses that can put out hundreds of shirts per hour. There is more setup involved on the front end for screen printing, but once your screens are in place, screen printers can produce shirts at a rapid rate and a great price break. Screen printing is the process of pressing ink through a stencilled mesh screen to create a printed design. It’s a popular technique used in a whole range of different industries, so even if you’ve never heard of the term before today, it’s likely that you’ve worn or used a screen-printed product at some point without even realising. The process is sometimes called serigraphy or silk screen printing, but all of these names refer to the same basic method. Screen printing is an effective technique for creating bold canvases, posters and artwork, but the method can also be used to print fabrics and textiles, so it’s great for creating all sorts of custom clothing and products. In this guide, we’ll cover all of your questions about silk screen printing, including:
|  | |
What is screen printing?Fabric and paper are the most commonly screen-printed surfaces, but with specialised inks it’s also possible to print onto wood, metal, plastic, and even glass. The basic method involves creating a stencil on a fine mesh screen, and then pushing ink (or paint, in the case of artwork and posters) through to create an imprint of your design on the surface beneath. The process is sometimes called silk screening or silk screen printing and while the actual printing process is always fairly similar, the way the stencil is created can vary, depending on the materials used. Different stencilling techniques include:
Designs made using the screen printing technique may use just one shade of ink, or several. In the case of multicoloured items, the colours must be applied in individual layers, using separate stencils for each ink. | 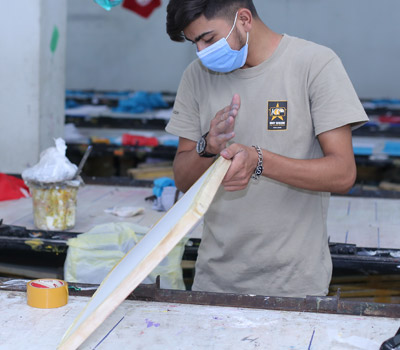 | |
Why is screen printing used?One of the reasons that the screen printing technique is so widely used is because it produces vivid colours, even on darker fabrics. The ink or paint also lies in layers on the surface of the fabric or paper, which gives the print a pleasingly tactile quality. The technique is also favoured because it allows the printer to easily reproduce a design multiple times. Because the same stencil can be used to replicate a design again and again, it’s very useful for creating multiple copies of the same garment or accessory. This makes screen printing a very efficient technique for creating large batches of custom clothing for sports teams or work uniforms. When carried out using professional equipment by an experienced printer, it’s also possible to create intricate multicoloured designs. While the complexity of the process does mean there’s a limit to the number of colours the printer can use, it does allow for more intense colouring than is possible to achieve with digital printing alone. | 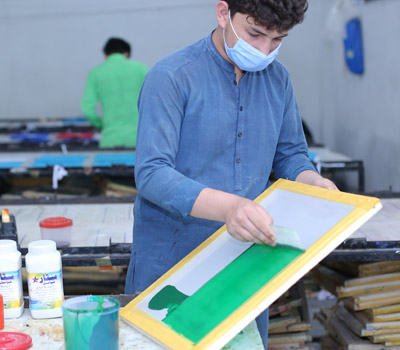 | |
The screen printing process step by stepThere are different methods of screen printing, but they all involve the same basic technique. The form of printing we’ll talk about below uses a special light-reactive emulsion to create a custom stencil; this tends to be the most popular type of commercial printing, as it can be used to make intricate stencils. Step 1: The design is created The printer takes the design they want to create on the finished product, and prints it out onto a transparent acetate film. This will be used to create the stencil. Step 2: The screen is prepared Next, the printer will choose a mesh screen to suit the complexity of the design, and the texture of the fabric being printed. The mesh screen is then coated with a layer of light-reactive emulsion, which will harden when developed under bright light. Step 3: The emulsion is exposed The acetate sheet featuring the design is laid onto the emulsion-coated screen, and the whole thing is exposed to a very bright light. The light hardens the emulsion, so the parts of the screen which are covered by the design remain in liquid form. If the final design is going to include more than one colour, then a separate screen must be used to apply each layer of ink. To create multi-coloured products, the printer must use skill to design each stencil, and line them up perfectly to ensure the final design is seamless. Step 4: The emulsion is washed off, creating the stencil After the screen has been exposed for a set time, the areas of the screen not covered by the design will have turned hard. Any unhardened emulsion is then carefully rinsed away. This leaves a clear imprint of the design on the screen for the ink to pass through. The screen is then dried, and the printer will make any necessary touch-ups or corrections to make the imprint as accurate as possible to the original design. The stencil is now ready to be used. | | |
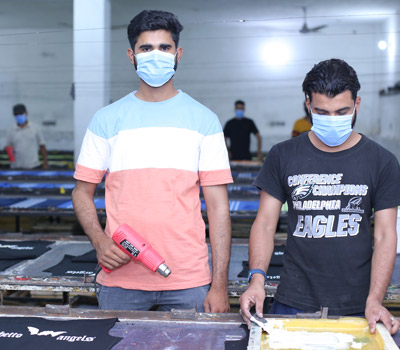
Step 5: The item is prepared for print The screen is placed on the printing press. The item or garment being printed is laid down flat onto the printing board, underneath the screen. Step 6: The ink is pressed through the screen onto the item Ink is added to the screen, and a squeegee is used to pull the ink across, pressing it through the open areas of the stencil onto the product beneath. Step 7: The product is dried, checked and finished The printed product passes through a dryer, curing the ink and creating a smooth, colourfast finish. The final product is checked, washed, and prepared for delivery. | 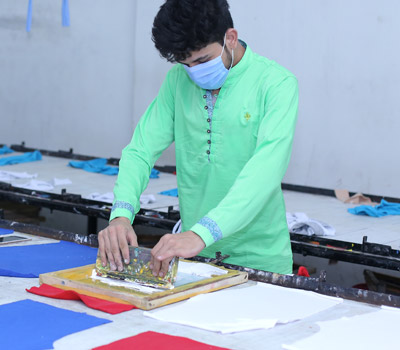 |
Likes: 99
© 2026 Pixe Link Print Lab . All Rights Reserved.